# Import the libraries we need for this lab

import torch.nn as nn
import torch

import matplotlib.pyplot as plt
torch.manual_seed(2)
<torch._C.Generator at 0x7759bb532ff0>Training Two Parameter, Mini-Batch Gradient Decent, Training Two Parameter Mini-Batch Gradient Decent

In this lab, you will cover logistic regression by using PyTorch.
Estimated Time Needed: 15 min
We’ll need the following libraries
# Import the libraries we need for this lab
import torch.nn as nn
import torch
import matplotlib.pyplot as plt
torch.manual_seed(2)<torch._C.Generator at 0x7759bb532ff0>Create a tensor ranging from -10 to 10:
# Create a tensor

z = torch.arange(-10, 10, 0.1,).view(-1, 1)
When you use sequential, you can create a sigmoid object:
# Create a sigmoid object

sig = nn.Sigmoid()
Apply the element-wise function Sigmoid with the object:
# Make a prediction of sigmoid function

yhat = sig(z)
Plot the results:
# Plot the result

plt.plot(z.detach().numpy(),yhat.detach().numpy())
plt.xlabel('z')
plt.ylabel('yhat')
Text(0, 0.5, 'yhat')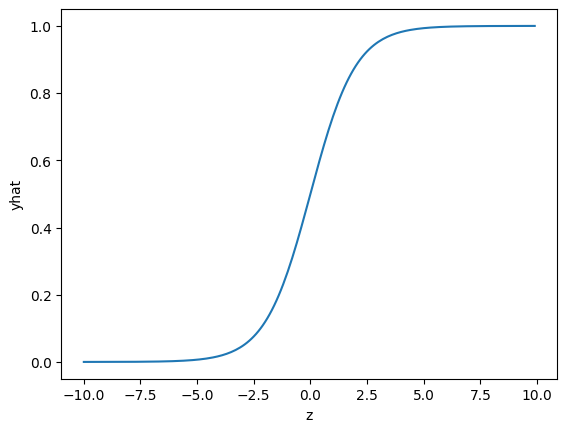
For custom modules, call the sigmoid from the torch (nn.functional for the old version), which applies the element-wise sigmoid from the function module and plots the results:
# Use the build in function to predict the result

yhat = torch.sigmoid(z)
plt.plot(z.numpy(), yhat.numpy())

plt.show()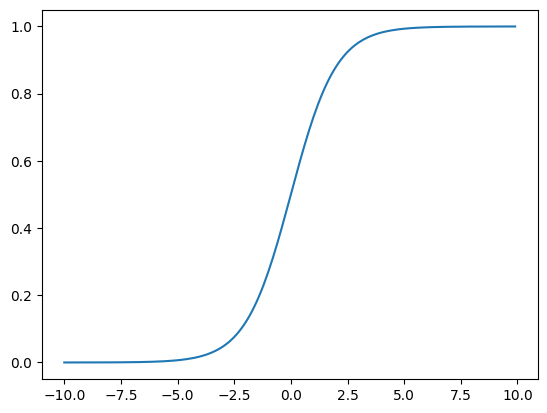
When you use sequential, you can create a tanh object:
# Create a tanh object

TANH = nn.Tanh()
Call the object and plot it:
# Make the prediction using tanh object

yhat = TANH(z)
plt.plot(z.numpy(), yhat.numpy())
plt.show()
For custom modules, call the Tanh object from the torch (nn.functional for the old version), which applies the element-wise sigmoid from the function module and plots the results:
# Make the prediction using the build-in tanh object

yhat = torch.tanh(z)
plt.plot(z.numpy(), yhat.numpy())
plt.show()
When you use sequential, you can create a Relu object:
# Create a relu object and make the prediction

RELU = nn.ReLU()
yhat = RELU(z)
plt.plot(z.numpy(), yhat.numpy())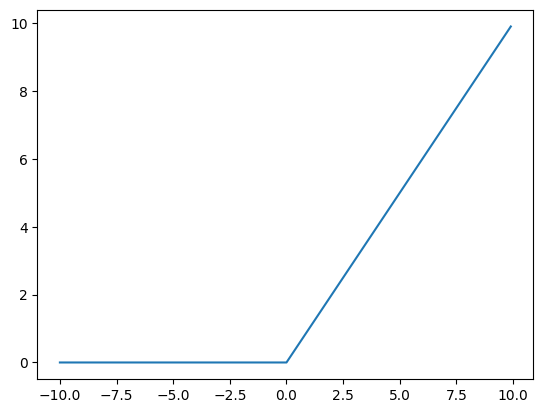
For custom modules, call the relu object from the nn.functional, which applies the element-wise sigmoid from the function module and plots the results:
# Use the build-in function to make the prediction

yhat = torch.relu(z)
plt.plot(z.numpy(), yhat.numpy())
plt.show()
# Plot the results to compare the activation functions

x = torch.arange(-2, 2, 0.1).view(-1, 1)
plt.plot(x.numpy(), torch.relu(x).numpy(), label='relu')
plt.plot(x.numpy(), torch.sigmoid(x).numpy(), label='sigmoid')
plt.plot(x.numpy(), torch.tanh(x).numpy(), label='tanh')
plt.legend()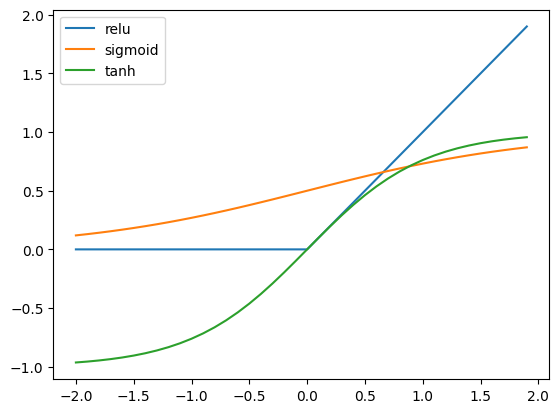
Compare the activation functions with a tensor in the range (-1, 1)
# Practice: Compare the activation functions again using a tensor in the range (-1, 1)

# Type your code here
Double-click here for the solution.